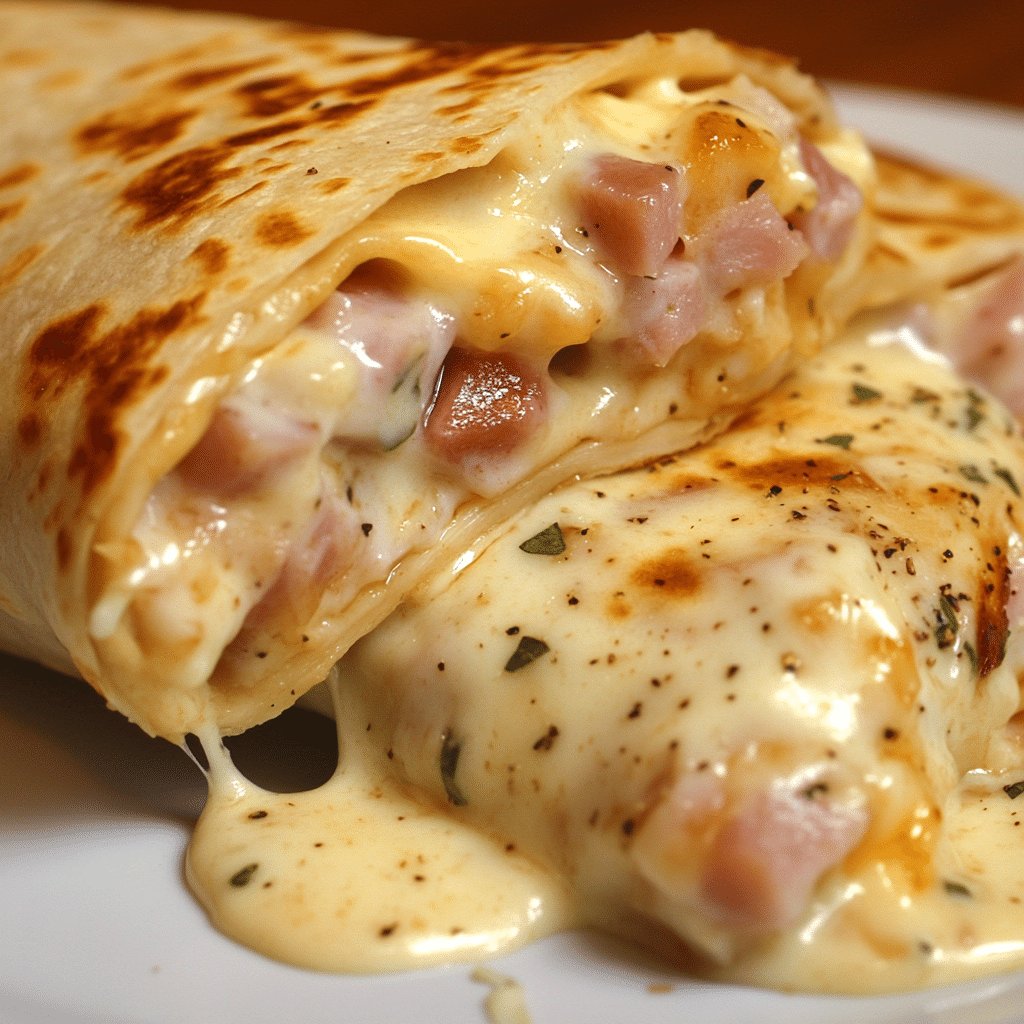
Cheesy Chicken Wraps are the ultimate comfort food wrapped up in a soft, warm tortilla. The delicious combination of juicy, seasoned chicken with melted cheese makes this dish a favorite for anyone who loves cheesy, savory meals. Perfect for a quick weeknight dinner or a fun party appetizer, these wraps are easy to make and bursting with flavor. Whether you prefer mild or spicy seasonings, the flexibility of this recipe allows you to adjust the flavors to your liking. Best of all, the recipe requires simple ingredients that you likely already have in your kitchen, making it a hassle-free meal.
The addition of cheese elevates the wraps, turning them into a cheesy, melt-in-your-mouth delight that the whole family will devour. With chicken wrapped in soft tortillas, these wraps can be enjoyed on their own or served with your favorite dipping sauce. Whether you serve them with salsa, ranch, or a creamy dipping sauce, they’re sure to be a hit at any meal.
Why You’ll Love This Recipe
- Quick and Easy
These cheesy chicken wraps are quick to prepare and cook, making them perfect for busy weeknights or when you’re short on time. - Customizable Flavors
You can adjust the spice levels or add your favorite seasonings to make this recipe your own. Add extra heat or keep it mild based on your preference. - Family-Friendly
With juicy chicken and gooey cheese, these wraps are a guaranteed crowd-pleaser, perfect for kids and adults alike. - Versatile
This recipe can be adapted to fit various dietary preferences, such as using a gluten-free tortilla or adding different veggies for a healthier twist. - Perfect for Meal Prep
Make a batch of these wraps ahead of time and store them for later, making lunch or dinner prep a breeze for the upcoming days.

Ingredients
- Chicken breast or thighs
- Cheese (cheddar, mozzarella, or your preferred variety)
- Tortillas
- Olive oil
- Paprika
- Garlic powder
- Onion powder
- Salt and pepper
- Optional: vegetables (e.g., bell peppers, onions, or spinach)
- Sour cream, salsa, or any dipping sauce of choice (optional)
Variations
- Add Vegetables: Include bell peppers, onions, or spinach to boost the flavor and nutrition of the wraps.
- Use Different Meats: Swap out chicken for turkey, beef, or even a vegetarian alternative like tofu or tempeh.
- Add Spice: For extra heat, incorporate jalapeños, chili flakes, or a spicy salsa.
- Cheese Variety: Experiment with different types of cheese like pepper jack, gouda, or a blend of cheeses for a richer flavor.
How to Make the Recipe
- Prepare the Chicken: Season the chicken with paprika, garlic powder, onion powder, salt, and pepper. Heat olive oil in a pan over medium heat.
- Cook the Chicken: Add the chicken to the pan and cook for about 6–7 minutes on each side, or until the chicken is fully cooked through and reaches an internal temperature of 165°F. Remove the chicken from the pan and set aside.
- Shred the Chicken: Once the chicken has cooled slightly, shred it using two forks or chop it into small bite-sized pieces.
- Assemble the Wraps: Lay out the tortillas on a flat surface. Place a generous amount of shredded chicken in the center of each tortilla, then top with a handful of cheese. If using, add any additional fillings like spinach, peppers, or onions.
- Roll the Wraps: Fold in the sides of the tortilla and roll tightly to encase the filling.
- Cook the Wraps: Heat a non-stick skillet over medium heat. Place the wraps seam-side down in the skillet and cook for 2–3 minutes on each side, or until golden brown and the cheese is melted.
Tips for Making the Recipe
- Don’t Overfill: Be sure not to overstuff the wraps, as this will make them difficult to roll and could cause the filling to spill out during cooking.
- Crisp the Wraps: For an extra crispy texture, you can brush the outsides of the wrap with a little bit of butter or oil before cooking.
- Use Leftover Chicken: This recipe is perfect for using up leftover rotisserie chicken or pre-cooked chicken.
- Monitor Heat: When cooking the wraps, ensure the skillet isn’t too hot. If the temperature is too high, the outside will burn before the cheese has a chance to melt.

How to Serve
- Dipping Sauce: Serve these cheesy chicken wraps with your favorite dipping sauce, such as sour cream, guacamole, or salsa.
- Side Dishes: Pair with a fresh salad, seasoned rice, or roasted vegetables to complete the meal.
- Appetizer Option: These wraps are great as a finger food for parties or gatherings. Cut them into smaller pieces for easy serving.
Make Ahead and Storage
Storing Leftovers: You can store any leftover wraps in an airtight container in the refrigerator for up to 3 days. To reheat, simply warm them in a skillet or microwave.
Freezing: To freeze the wraps, let them cool completely and wrap them tightly in plastic wrap or aluminum foil. Store them in the freezer for up to 3 months. To reheat, thaw overnight in the refrigerator and warm in a skillet.
Reheating: To reheat refrigerated or frozen wraps, place them in a heated skillet for a few minutes until warmed through and the cheese is melted.
FAQs
- Can I use a different type of cheese?
Yes, you can use any cheese you like. Mozzarella, cheddar, or pepper jack are all great options. - Can I use tortillas that are not flour-based?
Yes, you can use corn tortillas or gluten-free tortillas as an alternative. - Can I make these wraps vegetarian?
Absolutely! Replace the chicken with vegetables like mushrooms, tofu, or beans for a vegetarian version. - How can I make the wraps spicier?
Add jalapeños, hot sauce, or chili flakes to the chicken mixture to increase the heat. - What else can I add to the filling?
You can add sautéed peppers, onions, or spinach to the chicken mixture to enhance the flavor. - Can I bake these wraps instead of pan-frying?
Yes, you can bake the wraps at 375°F for about 15 minutes, flipping them halfway through for a crispy texture. - How do I prevent the cheese from oozing out?
Make sure to roll the wraps tightly and don’t overfill them to keep the cheese inside. - How do I keep the wraps from getting soggy?
To prevent sogginess, ensure the chicken is cooked well and not overly greasy before wrapping. Also, don’t add too much sauce inside the wrap. - Can I use leftover chicken?
Yes, this is a great recipe for using up leftover chicken from a previous meal. - What can I serve these wraps with?
These wraps are great with a side of chips, salad, or roasted vegetables. You can also serve them with a fresh dipping sauce.

Conclusion
Cheesy Chicken Wraps are a quick and satisfying meal that delivers a burst of flavor with every bite. Whether you’re making them for a busy weeknight or as a tasty appetizer for a gathering, these wraps are always a hit. The versatility of the recipe allows you to make them your own, whether by adjusting the spice level or adding extra veggies. Give them a try, and you’ll have a cheesy, satisfying meal that your whole family will love!
Print
Cheesy Chicken Wraps Recipe
- Total Time: 25-30 minutes
- Yield: 4 servings 1x
Description
This easy and delicious pasta dish features Italian sausage, cherry tomatoes, spinach, and a flavorful tomato sauce, making it a perfect weeknight meal. With just the right amount of heat from cayenne and chili flakes, it’s both comforting and zesty.
Ingredients
- 1 lb (450g) Italian sausage meat (mild or spicy)
- 4 servings of pasta (we used farfalle pasta)
- 2 garlic cloves, peeled and roughly chopped
- 7 oz (200g) cherry tomatoes, roughly chopped
- 1 handful of fresh spinach
- 2 tablespoons tomato puree
- 1 teaspoon paprika
- ½ teaspoon cayenne pepper
- 1 tablespoon olive oil
- ½ teaspoon chili flakes
- ½ teaspoon black pepper
Instructions
-
Cook the Pasta: Start by cooking the pasta according to the package instructions. Drain and set aside.
-
Cook the Sausage: In a large skillet, heat the olive oil over medium heat. Add the Italian sausage meat and cook until browned and fully cooked through, breaking it apart as it cooks. Once cooked, set it aside on a plate.
-
Sauté the Garlic and Tomatoes: In the same skillet, add the chopped garlic and sauté for 1-2 minutes until fragrant. Add the chopped cherry tomatoes and cook for an additional 5 minutes until they soften and release their juices.
-
Add the Spinach and Tomato Puree: Stir in the fresh spinach and tomato puree, and cook for another 3 minutes until the spinach wilts and everything is well combined.
-
Season the Sauce: Add the paprika, cayenne pepper, chili flakes, and black pepper to the skillet. Stir to combine and let the flavors meld for 2-3 minutes.
-
Combine Pasta and Sausage: Add the cooked pasta and sausage back into the skillet. Toss everything together to ensure the pasta is well coated with the sauce.
-
Serve: Once everything is mixed together and heated through, serve hot.
Notes
- For extra creaminess, you can stir in a little heavy cream or grated cheese to the sauce before mixing in the pasta.
- Adjust the level of spice by altering the amount of cayenne pepper and chili flakes.
- Prep Time: 15 minutes
- Cook Time: 15-20 minutes
- Category: Main Course
- Method: Stovetop
- Cuisine: Italian-inspired
Keywords: Pasta, sausage, spinach, tomato, farfalle pasta, weeknight dinner, Italian sausage pasta