Introduction
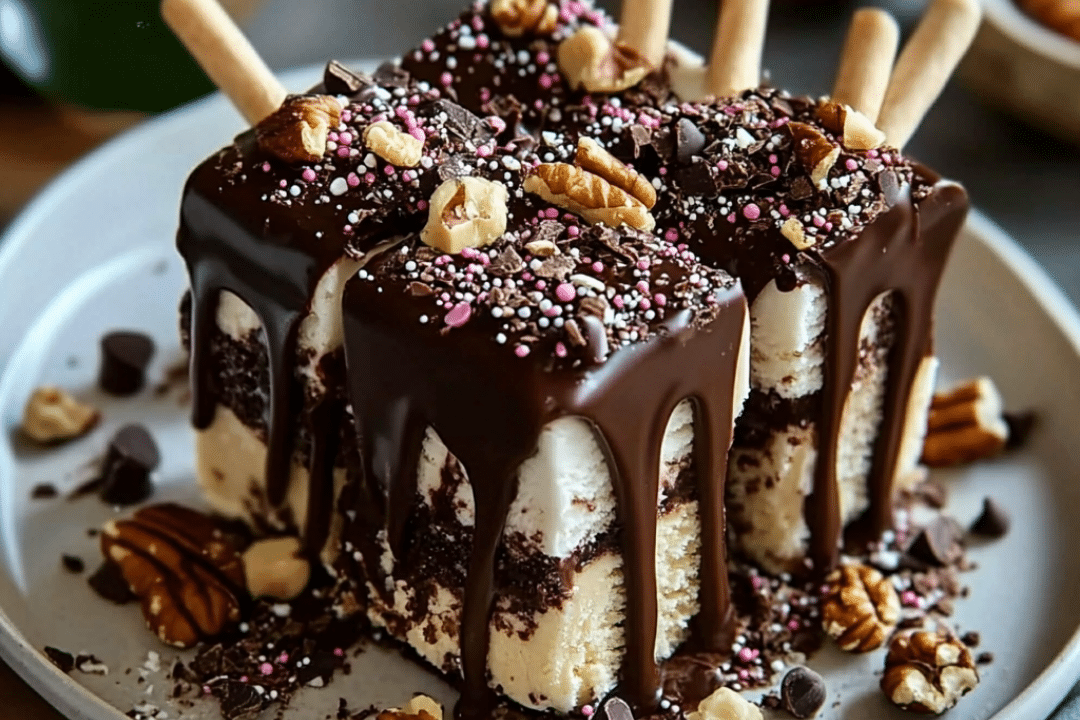
Chocolate-Covered Ice Cream Bars are a delightful treat that blends creamy vanilla ice cream with a crisp, rich chocolate coating. Perfect for hot summer days or as a fun dessert for any occasion, these bars are simple to make, customizable, and sure to be loved by all. With a bit of creativity, you can personalize the toppings and make them your own.
Why You’ll Love This Recipe
- Easy to Make: Simple steps that anyone can follow.
- Customizable: Add sprinkles, nuts, or any toppings you like.
- Perfect for All Ages: Loved by kids and adults alike.
- No-Bake: Minimal effort with maximum reward.
- Cool and Refreshing: Perfect for hot weather or whenever you crave something cold.
Ingredients
- Vanilla ice cream
- Chocolate melting wafers
- Vegetable oil
- Sprinkles or chopped nuts (optional)
Variations
- Toppings: Experiment with crushed candies, coconut flakes, or colorful sprinkles.
- Ice Cream Flavor: Use chocolate, strawberry, or any flavor you prefer.
- Chocolate Coating: Dark, milk, or white chocolate can be used for the coating.
How to Make the Recipe
Step 1: Prepare the Ice Cream Bars
Line a baking sheet with parchment paper and cut the ice cream into bars using a sharp knife.
Step 2: Freeze the Bars
Place the ice cream bars on the prepared baking sheet and freeze them for 1-2 hours.
Step 3: Melt the Chocolate
Melt the chocolate wafers with vegetable oil in a microwave-safe bowl, stirring in 30-second intervals.
Step 4: Dip the Bars
Dip each frozen ice cream bar into the melted chocolate, allowing any excess to drip off.
Step 5: Add Toppings
Sprinkle with optional toppings like sprinkles or chopped nuts.
Step 6: Freeze Again
Place the bars back on the baking sheet and freeze them for an additional 1-2 hours until the chocolate coating is firm.
Tips for Making the Recipe
- Ensure the ice cream is frozen solid before dipping to prevent melting.
- For a smoother chocolate coating, add more vegetable oil as needed.
- If you’re using a thinner chocolate, dip the bars twice for extra coverage.
How to Serve
Serve these chocolate-covered ice cream bars directly from the freezer for a cool and refreshing treat.
Make Ahead and Storage
Storing Leftovers
Store the bars in an airtight container in the freezer for up to a week.
Freezing
You can freeze the ice cream bars for up to a month. Just wrap them individually in plastic wrap for extra freshness.
Reheating
These bars should be served frozen, so no reheating is necessary.
FAQs
1. Can I use regular chocolate instead of melting wafers?
Yes, but melting wafers are easier to work with for a smooth coating.
2. Can I use any ice cream flavor?
Absolutely! You can use any flavor that you love.
3. How do I keep the chocolate from melting when dipping?
Ensure your ice cream bars are frozen solid before dipping.
4. Can I make these ahead of time?
Yes, they freeze well and can be made several hours or even days in advance.
5. What toppings can I add?
Sprinkles, chopped nuts, crushed cookies, or even mini candies all make great options.
6. Can I use vegan ice cream?
Yes, vegan ice cream works just as well in this recipe.
7. How do I make sure the chocolate sticks well?
Freeze the bars long enough before dipping, and make sure the chocolate is properly melted.
8. Can I use different types of chocolate?
Yes, dark, milk, and white chocolate all work perfectly.
9. How long do these last in the freezer?
They can last up to a week if stored properly.
10. Can I use non-dairy chocolate?
Yes, non-dairy chocolate can be used as an alternative.
Conclusion
Chocolate-Covered Ice Cream Bars are an irresistible dessert that combines the best of both worlds—ice cream and chocolate. With just a few simple ingredients, you can create a refreshing and indulgent treat that’s perfect for any occasion. Get creative with your toppings and enjoy this fun and easy dessert!
Print
Chocolate-Covered Ice Cream Bars
- Total Time: 4 hours
- Yield: 6 servings 1x
Description
These homemade chocolate-covered ice cream bars are a perfect treat for a hot day. Creamy vanilla ice cream dipped in rich chocolate and topped with sprinkles or nuts. A fun and delicious dessert everyone will love!
Ingredients
- 1 quart vanilla ice cream
- 1 package chocolate melting wafers
- 1 tablespoon vegetable oil
- Sprinkles or chopped nuts (optional)
Instructions
- Line a baking sheet with parchment paper.
- Use a sharp knife to cut the ice cream into bars.
- Place the bars on the prepared baking sheet and freeze for 1-2 hours.
- In a microwave-safe bowl, melt the chocolate wafers with vegetable oil in 30-second intervals, stirring in between.
- Dip each frozen ice cream bar into the melted chocolate, allowing excess to drip off.
- Sprinkle with toppings if desired and place back on the baking sheet.
- Freeze for an additional 1-2 hours before serving.
Notes
- If you don’t have chocolate melting wafers, you can use chocolate chips, but be sure to add a little more vegetable oil to help it melt smoothly.
- The bars can be customized with your favorite toppings such as mini marshmallows or crushed candy.
- Store the finished bars in an airtight container in the freezer for up to two weeks.
- Prep Time: 15 minutes
- Cook Time: 5 minutes

